Step 1: Reference Upload: Ask the user to upload one crisp, well-lit picture of the child's face (preferably front-facing) before creating the image. For facial structure, skin tone, eye colour, hair texture, and expression, use this image as your go-to source. The finished portrait must be readily identifiable as the same child; do not change or stylize these fundamental characteristics of identity.
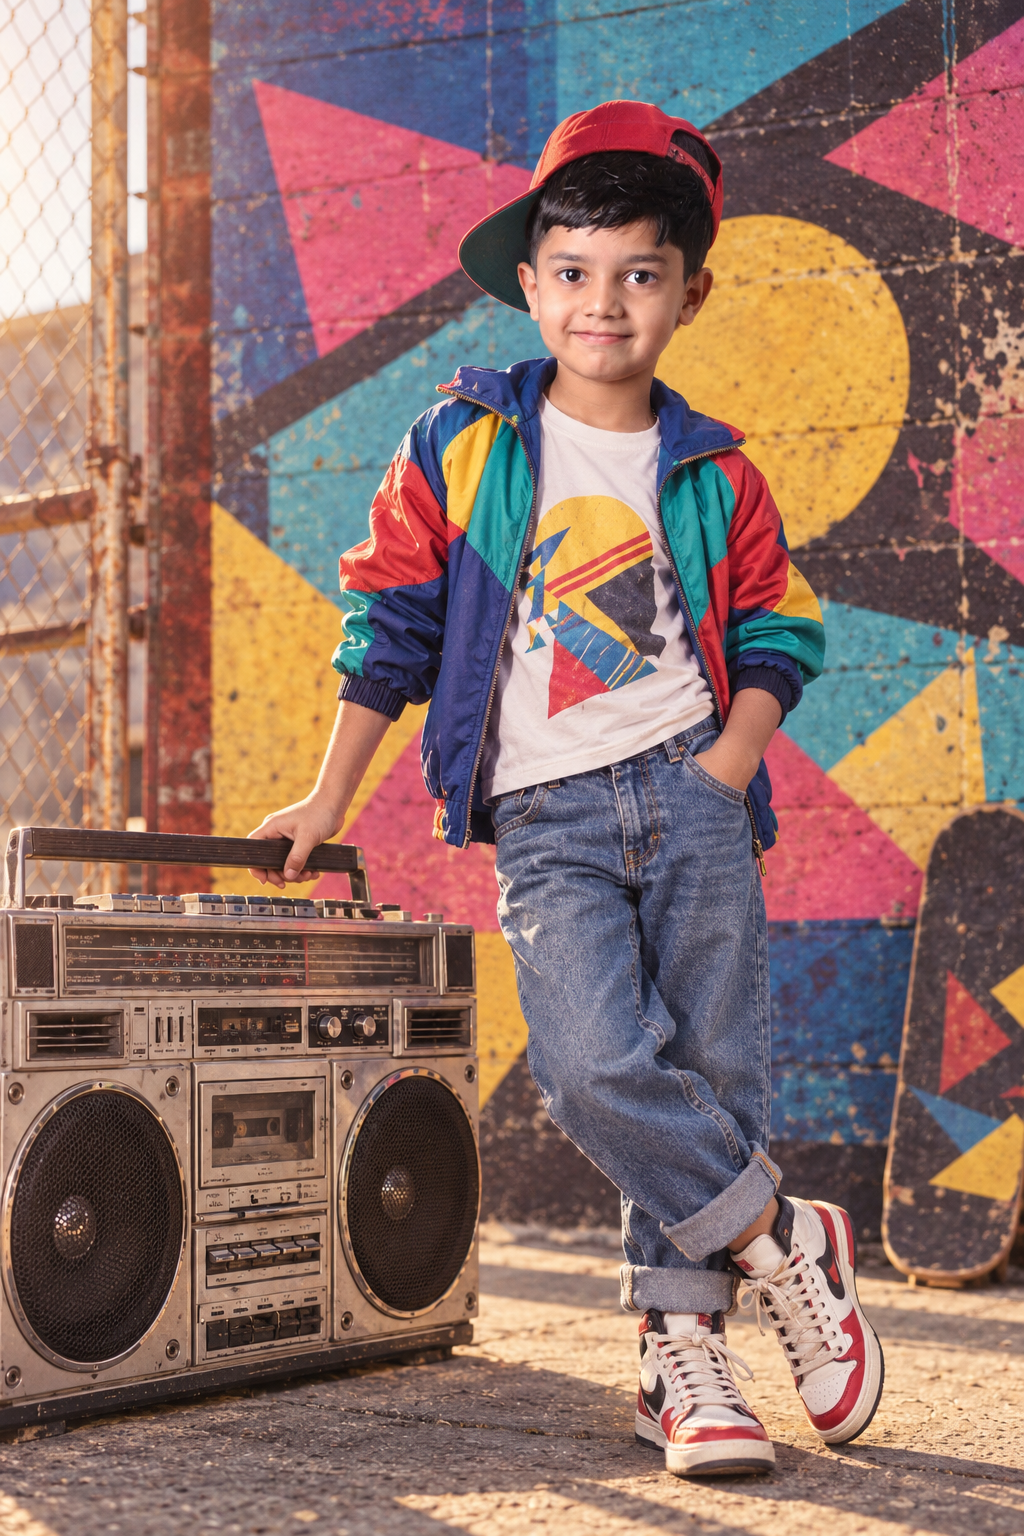
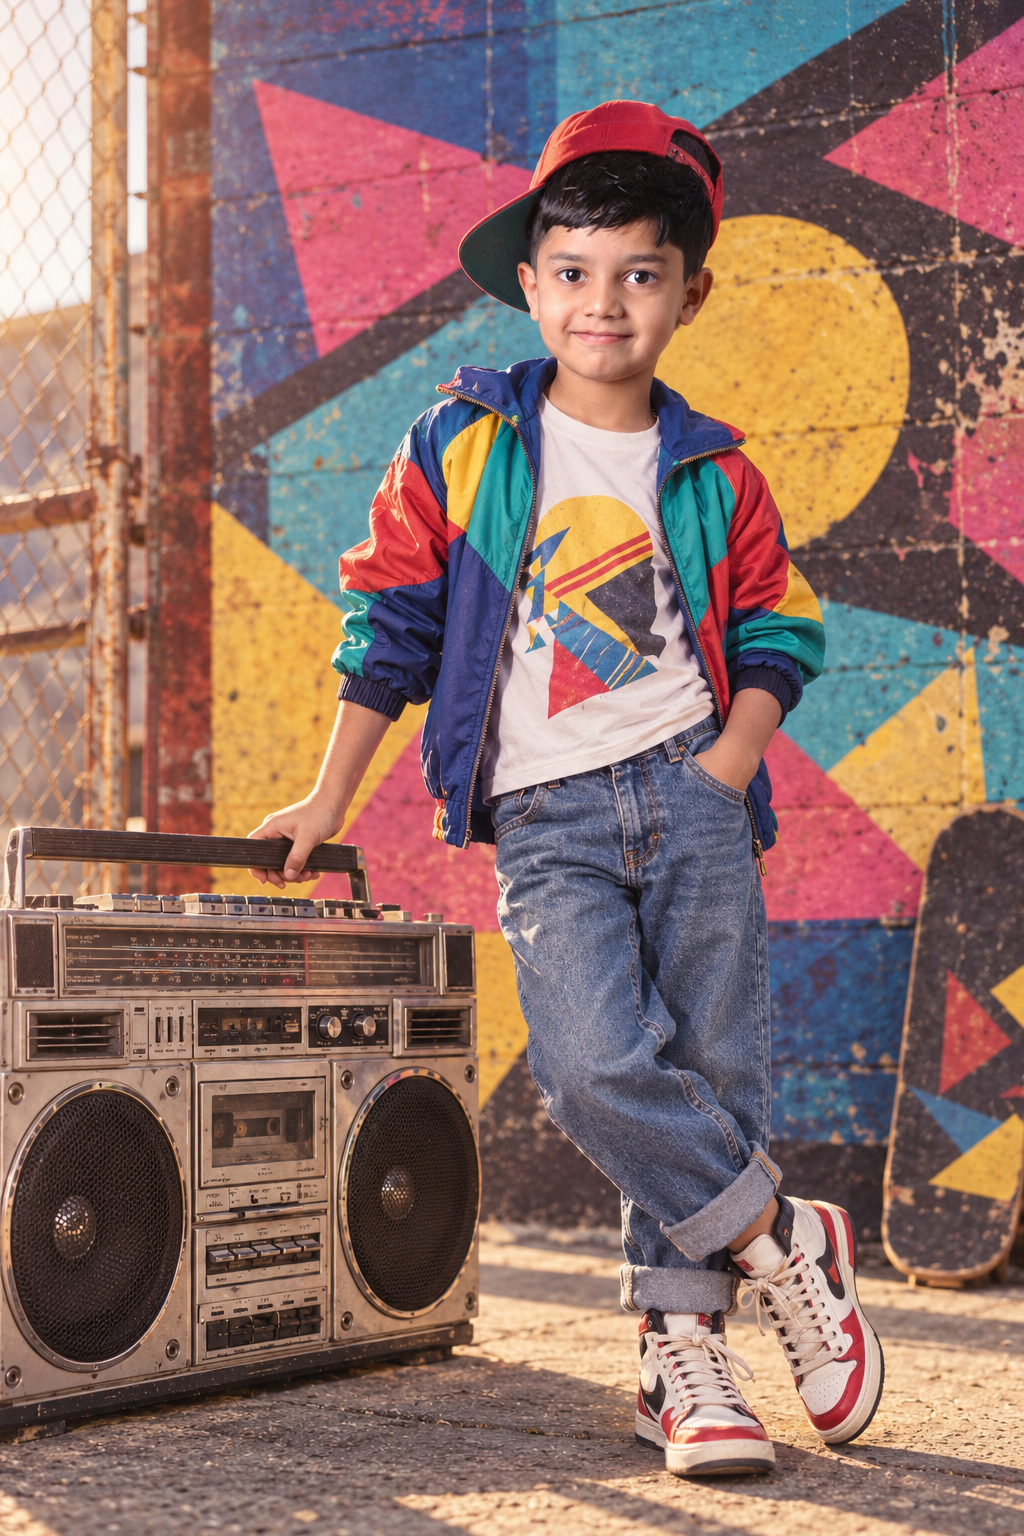
Step 2: Scene Composition: Create a portrait of the child standing firmly next to a massive, vintage-style boombox with two cassette decks, chrome trim, and large speaker grilles. Instead of adopting a rigid studio stance, the youngster should adopt a casual, playful pose with one hand resting on the boombox or on their hip.
Step 3: Clothing and Styling
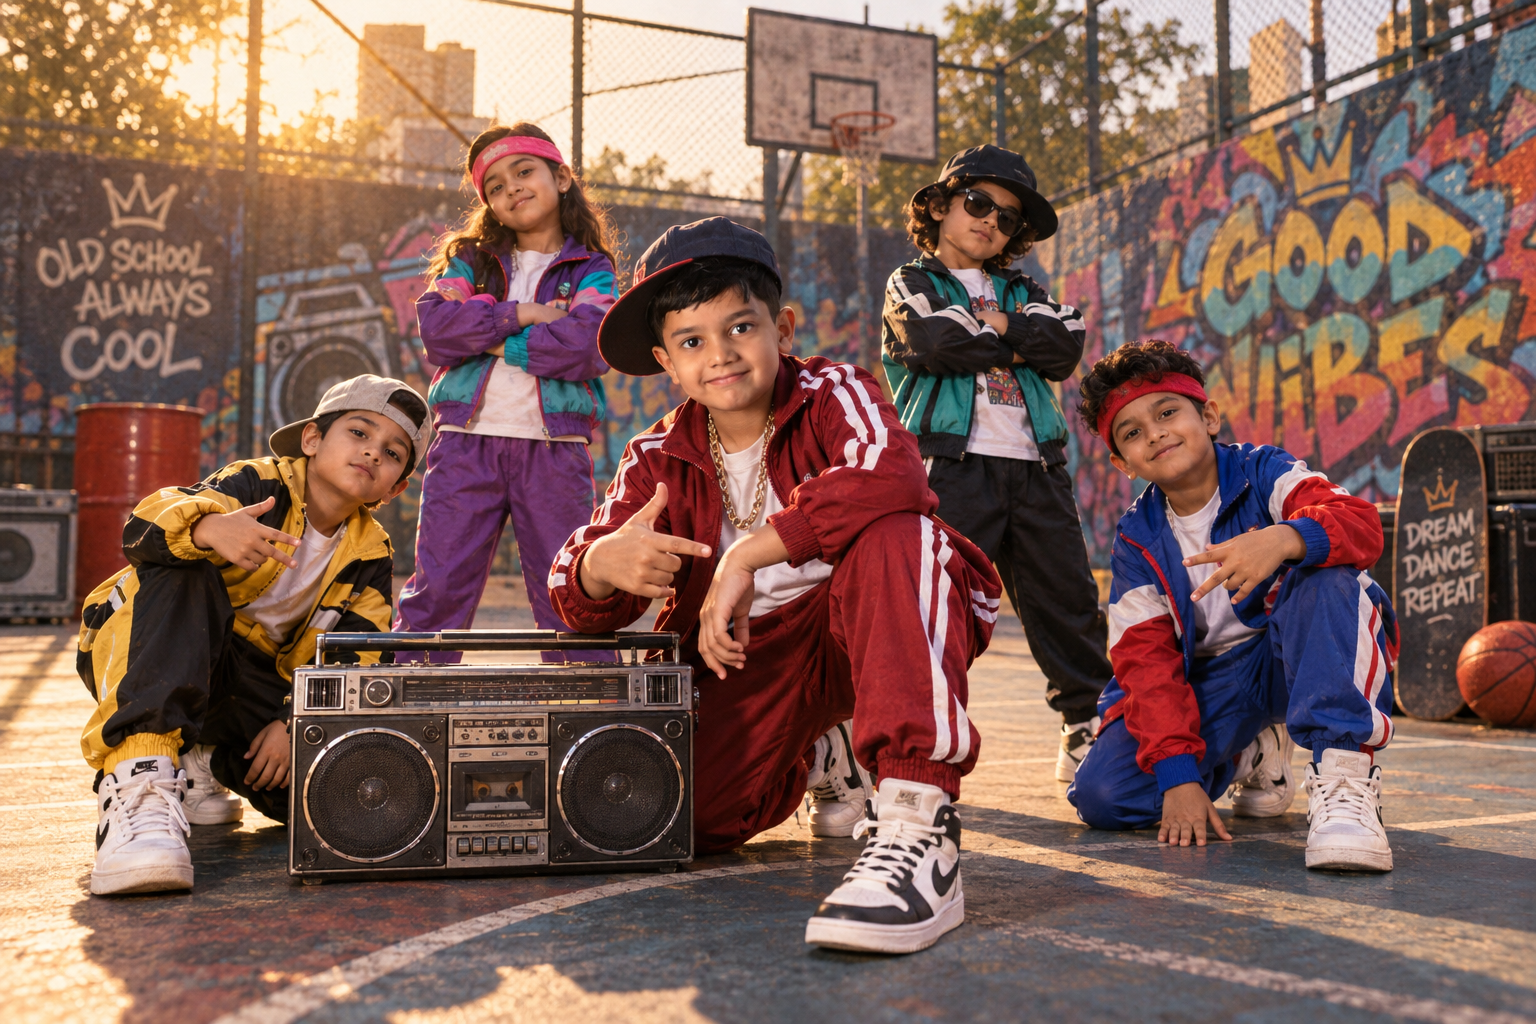
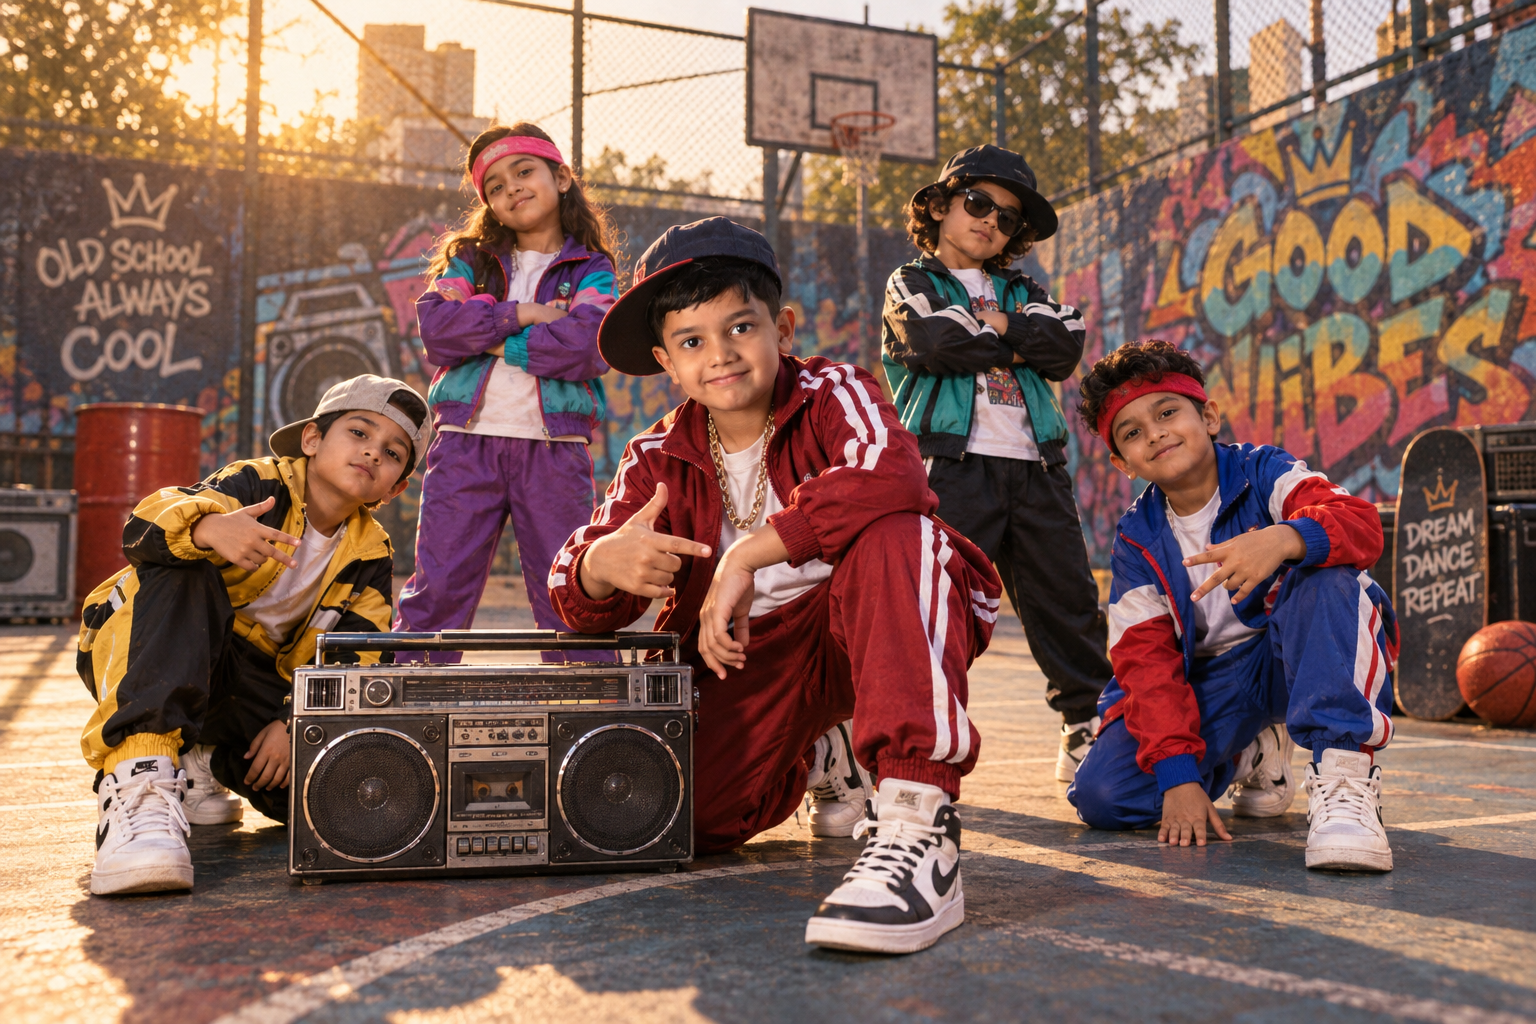
- A tracksuit with vibrant colors and classic stripes
- Bold contrast laces on high-top shoes
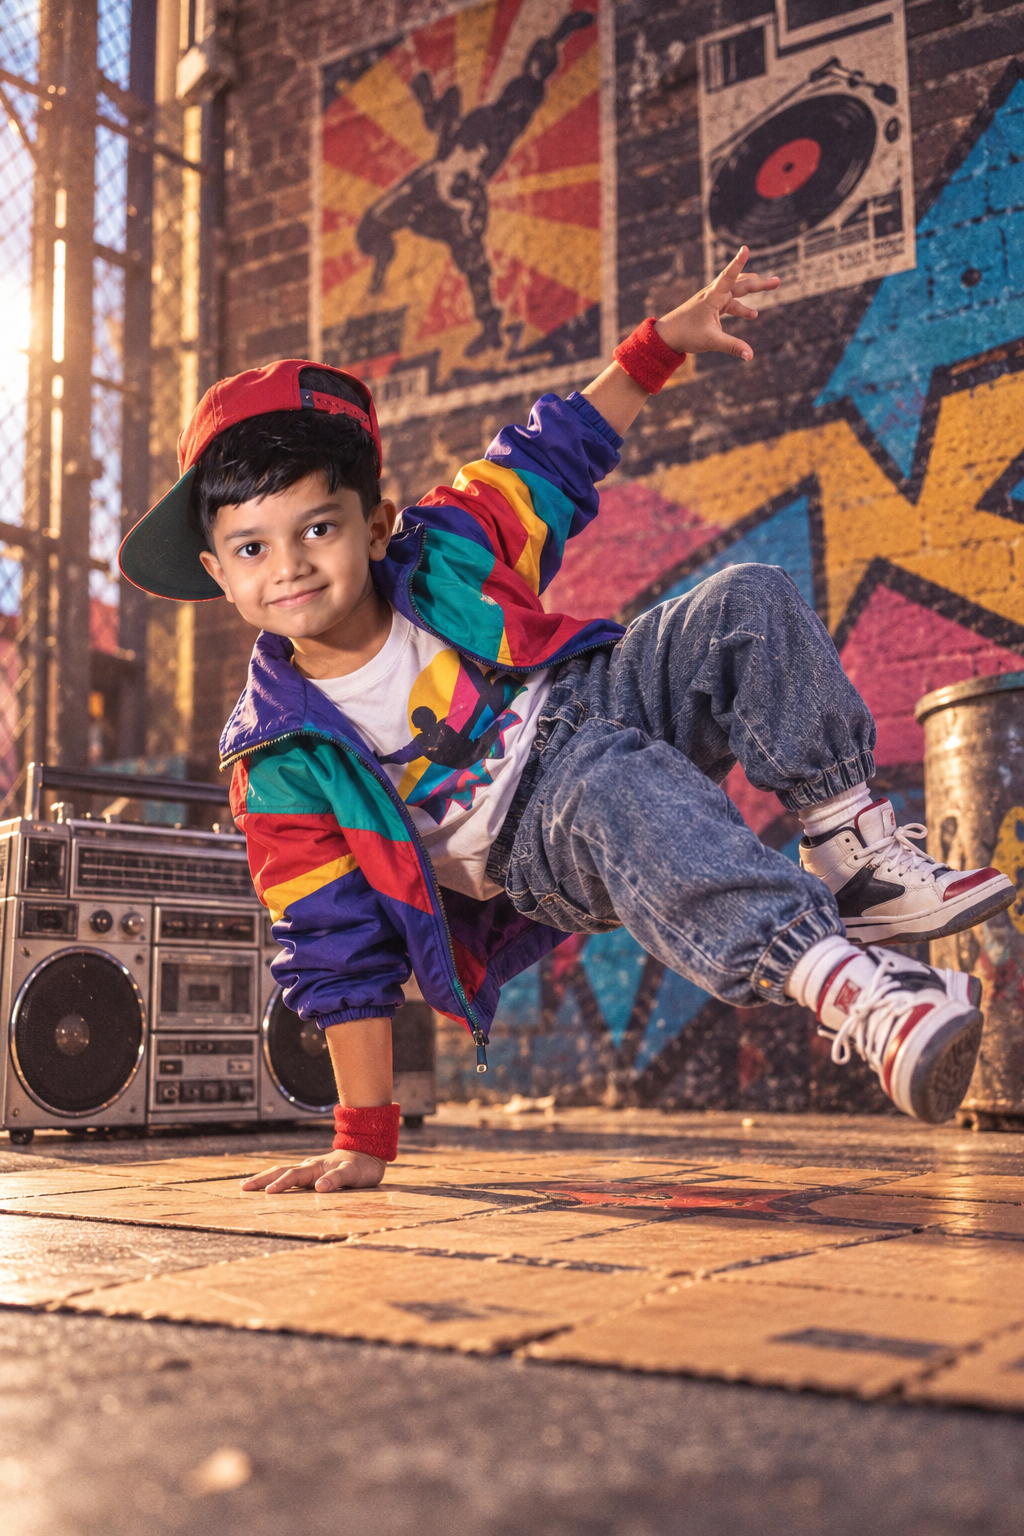
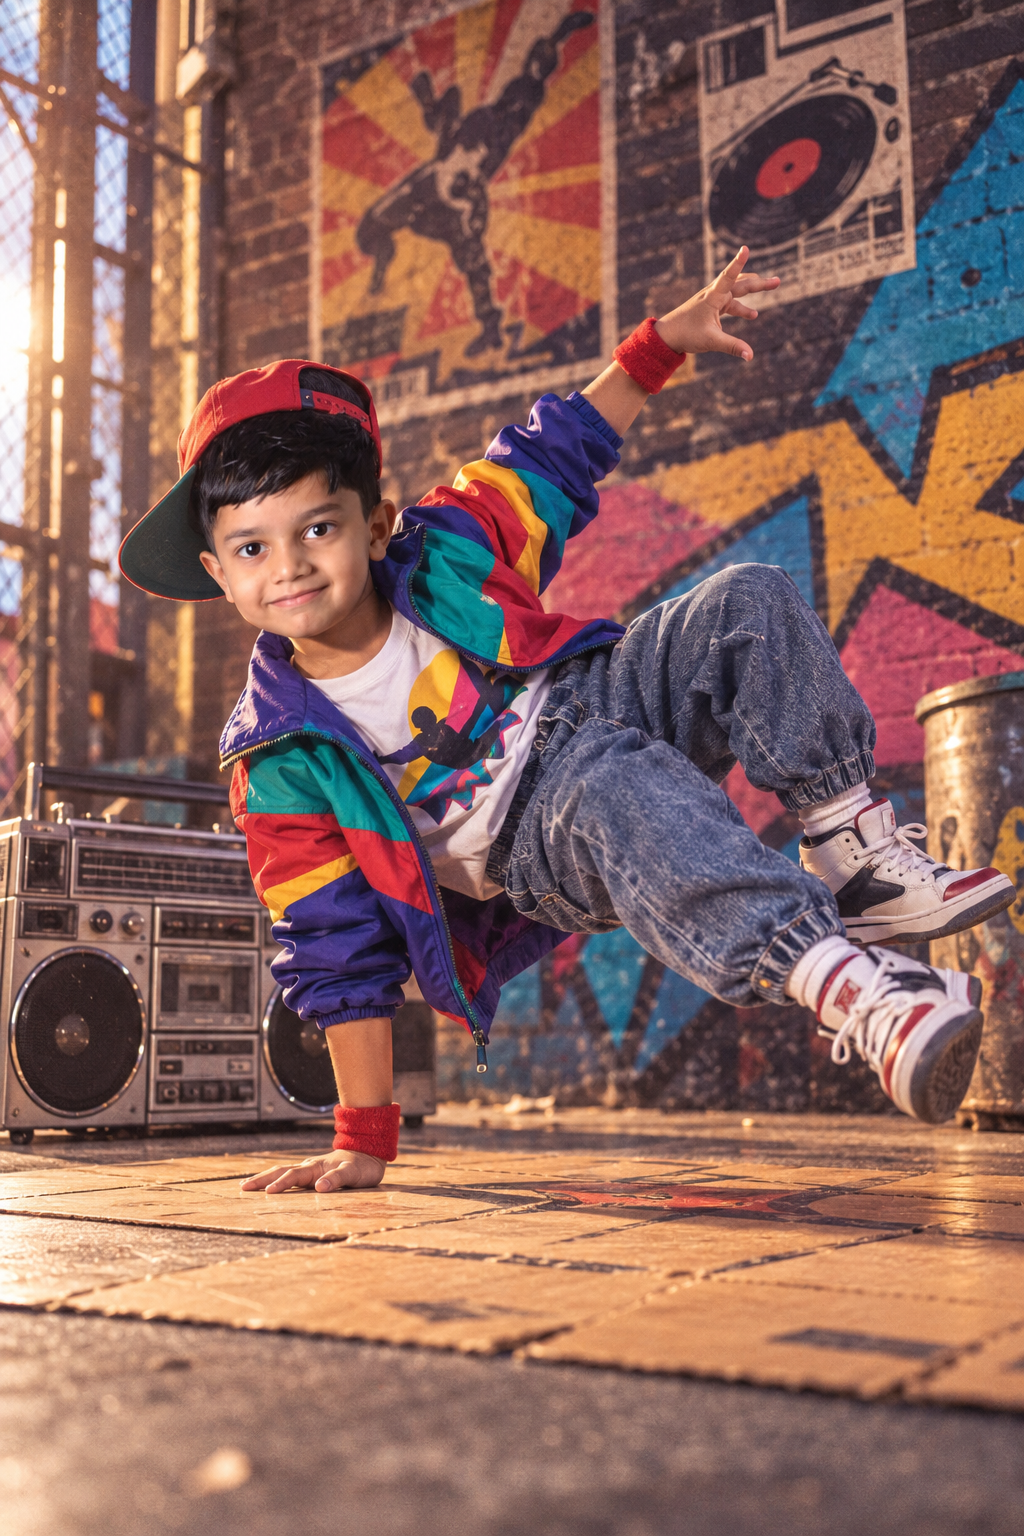
- Sweatbands or colourful wristbands stacked on one or both wrists
- Wearing a bucket cap or retro snapback at a slight tilt
Step 4: Background: Create an urban backdrop with street art in the style of graffiti using strong geometric shapes, layered spray paint textures, and a vivid colour scheme (pinks, yellows, teals, and purples) that accentuates but does not overshadow the topic.
Step 5: Lighting and Camera Treatment
To give the child a self-assured, enormous presence, the shot was taken from a somewhat low position.
A cozy, sentimental film grain overlay
Warm artificial lighting or golden hour helps heighten the vintage atmosphere
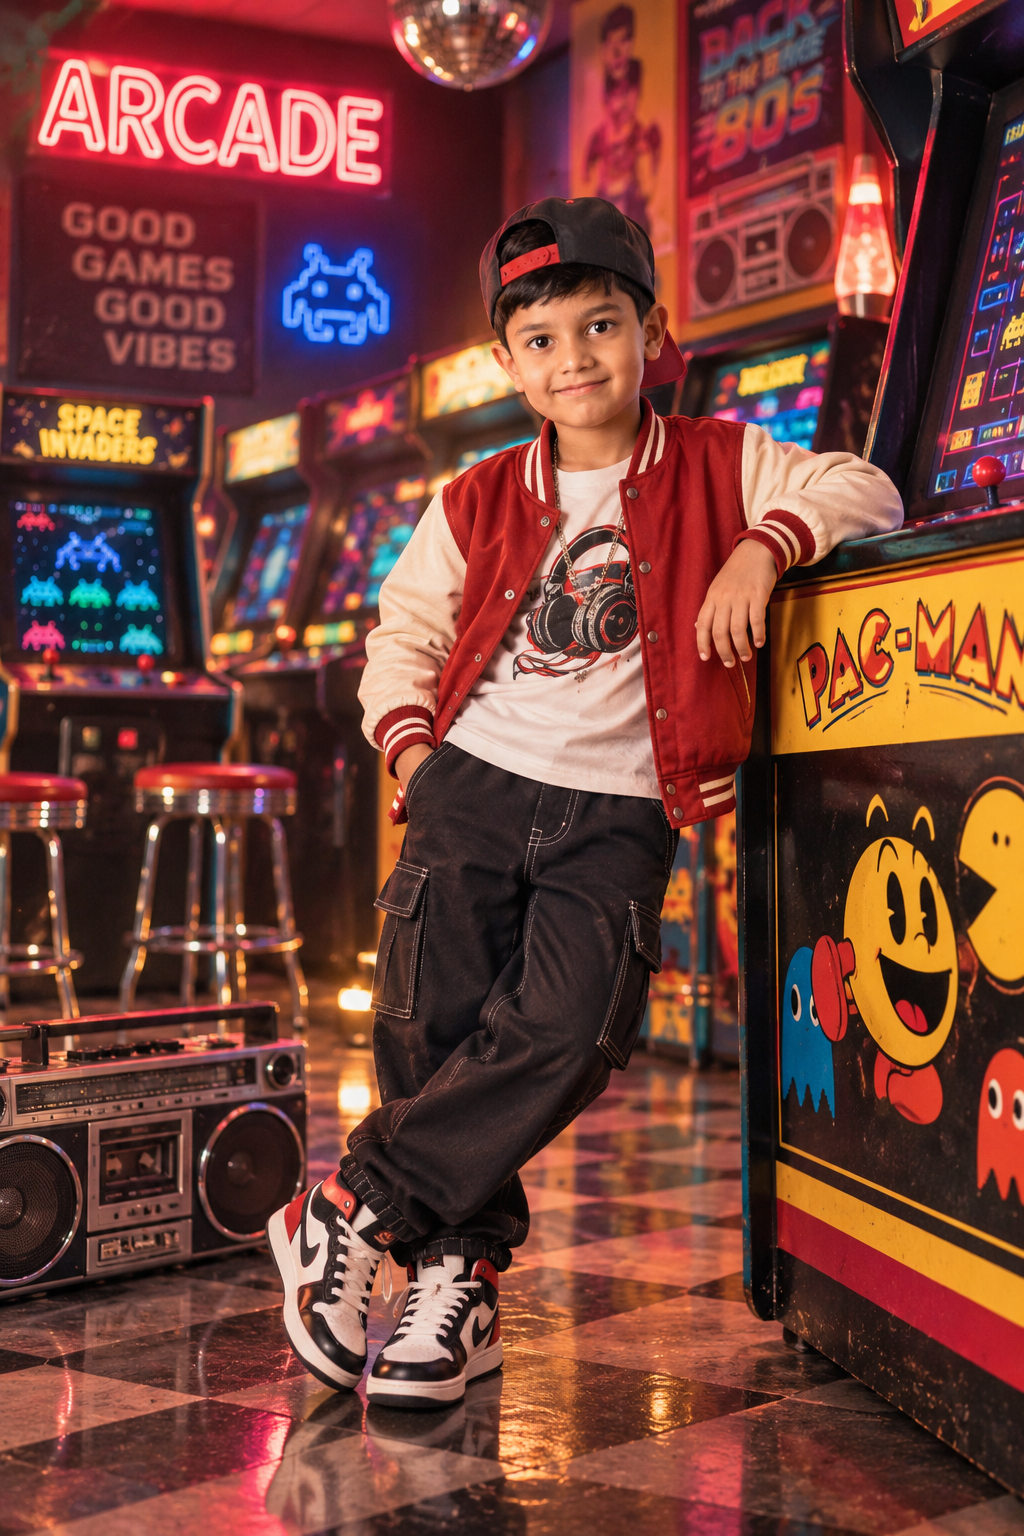
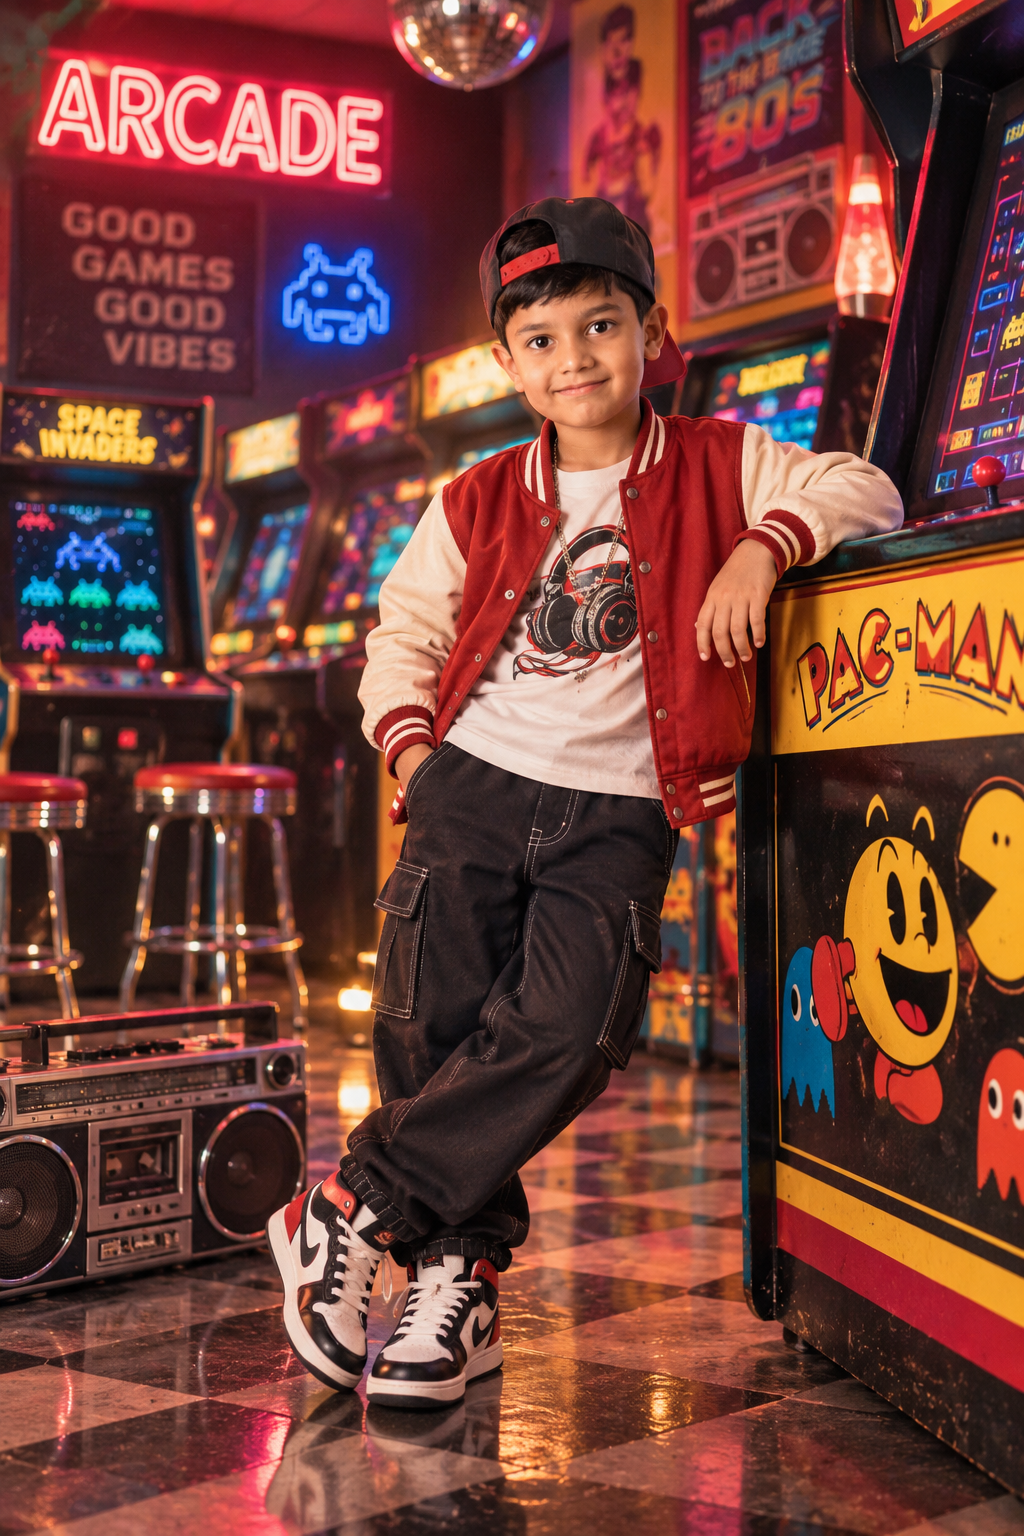
Step 6: Overall Mood: The finished picture should be lively, enjoyable, and fashionable, encapsulating the essence of vintage hip-hop culture as seen through a lighthearted, kid-friendly perspective.
Output: A single, high-resolution portrait that captures all of the aforementioned details while maintaining the child's true likeness.